Monday, May 7, 2012

Another 19th Day Miniatures fairy house project under way

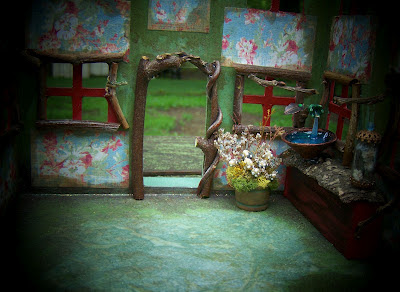
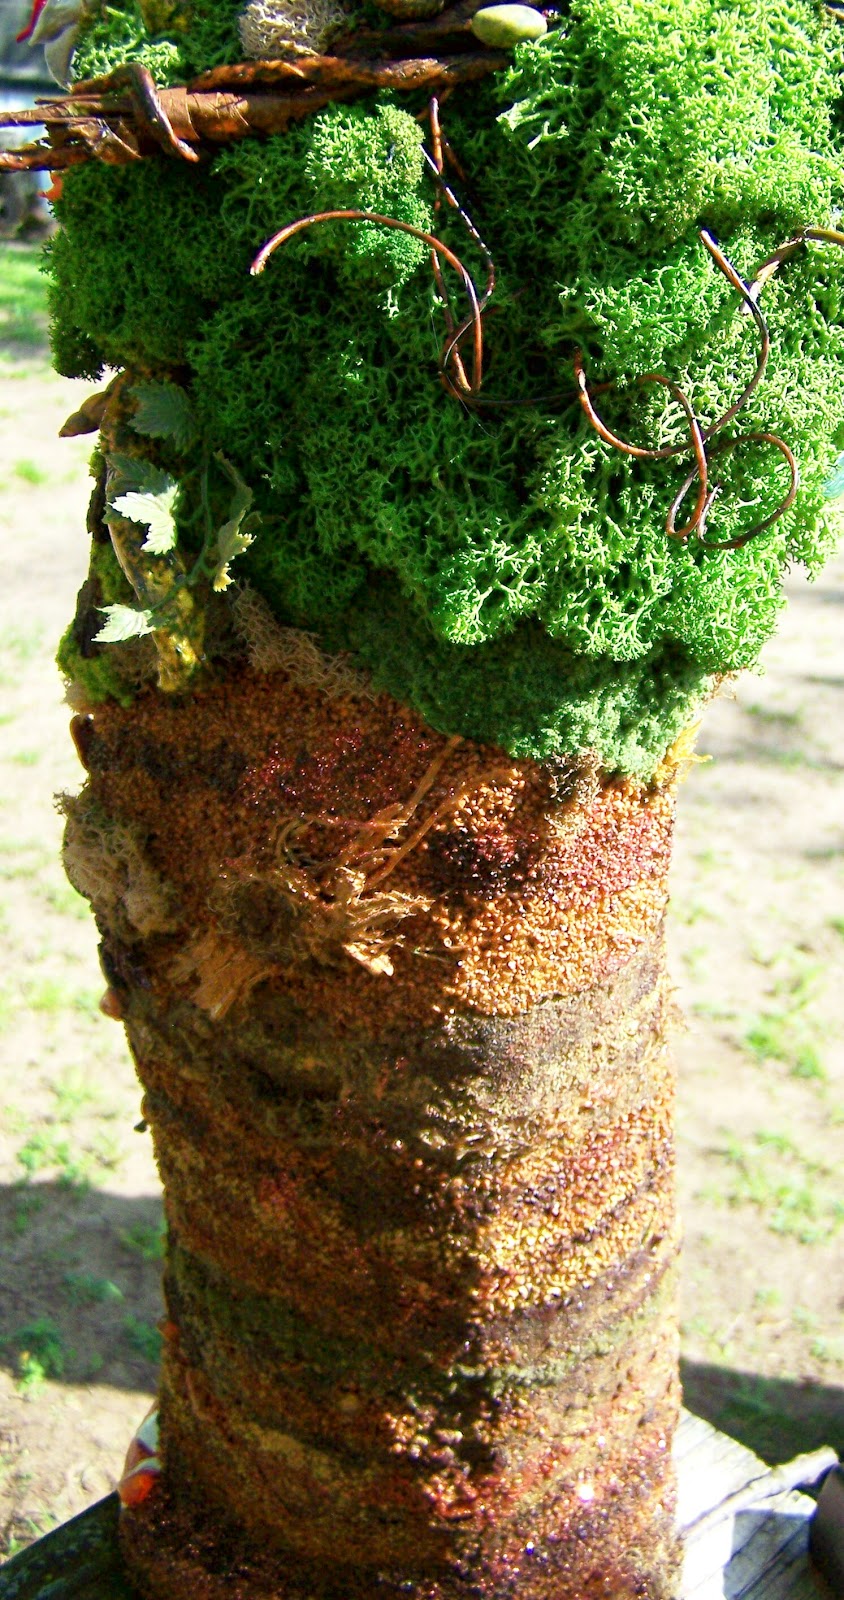
I've started another fairy house, my last one of the year as far as I know.  I'm eager to get back on some witchy minis, the steampunk/mad scientist lab house that's my fall spooky project, as well as a project that I've been thinking of doing for quite some time.  I've penciled in one last Alice in Wonderland project, but not just any project.  I've wanted to do the tea party scene for quite awhile, and I'm doing it some time this year.  And when I do it, it'll be done to the very best of my ability because there's something about it that I've always loved.  It's so preposterous and funny I guess.  Absurd, and it just tickles my funny bone :)  I've always known I would do it at some point.  But I have a few projects ahead of it to do so stay tuned.  Matter of fact I think at some point I might do two different versions of it, the standard one, and one that's very "malice in wonderland"....completely goth and disturbing!  How would that be for a Halloween decoration, a spooky Alice decoration?  Sounds fun to me!  Anywho, I'll shush up and just post some pictures of my basic start on this fairy house.  So much to do yet, lots of mossing inside the house before I can glue furniture in place.  I also need to finish trimming out windows and areas with twigs.  And I have a couple of lovely fairish things that go on the walls as well so it's not how it will look in the end inside there.  Here's some pictures of what I've been making:
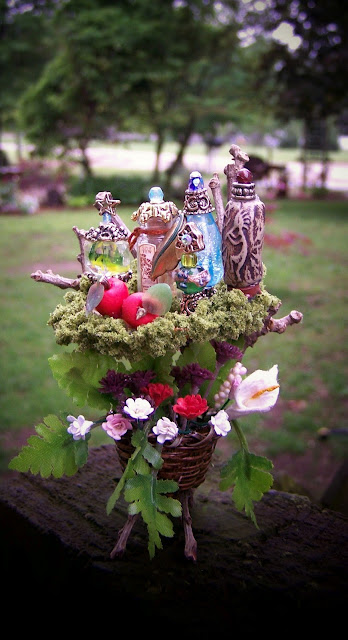
This is a twig stand I made with a mossy shelf on top and a basket of floral things underneath.  On the shelf are little fairy potion bottles and a couple of red apples.  I couldn't get a decent shot of this, it's quite pretty in person-more so that you can tell by this.  This will go in the back corner of the cottage.  I think I might make it so the top can be removed from the house so that things could be added or so that you can get a bird's eye view of all the things inside the house.  The top is removable right now, I usually glue them down but this one I might not. 

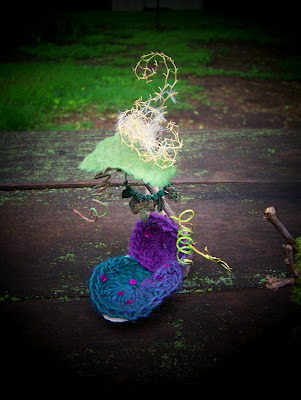
This will be the little fairy bed, made on a half shell with a leaf canopy and hand-crocheted bedding.  This picture is horrible, I might have to retake these later.  It's rainy and dark here right now, and it's affecting my photos badly.
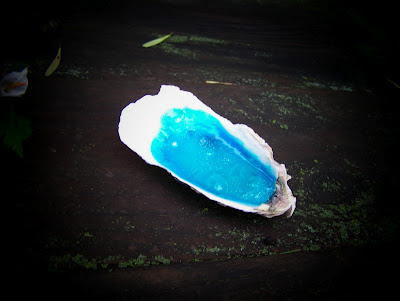
One of those little fairy tubs I make with the shimmering blue water.  This and some bath things will be mounted up high in the room against a wall because after all, fairies can fly!
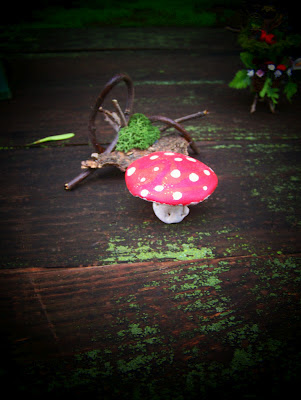
A twig bench and a mushroom table will round out the kitchen setting nicely :)  Again, BAD pictures :(  I am so sick of this weather here! Grrrrrrrr!

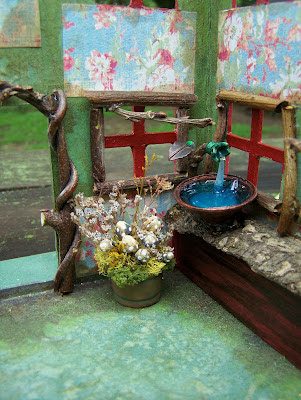
Again, difficult to see here but that would be a sink basin on the tree bark counter top with a water pump with water running into the basin.  On the floor sits a bucket of brown mushrooms and vegetation growing.  The inside of the house I wanted to look mossy, damp, and aged like it had sat on the forest floor in some hidden place for a very long time.  Still so much to do to it though before I glue down furniture. 
Still lots of twigging and mossing to do in there.  I might make rustic little curtain panels, don't know yet.
Stay tuned for updates :)  Thanks for stopping in everyone and have a wonderful day!


Thursday, May 3, 2012

Now listed for sale-Miniature Alice in Wonderland Rabbit Hole Scene complete, available for sale tomorrow night :)

New pics:


These below will be dark inside shots of the lights inside the rabbit hole lit up:


Previous pictures below:


Layers of the earth in sand and stone with a poly coating over it.  Very sturdy!

Can't clearly see "Dinah" the cat here in this shot but she's up there looking down the hole.


This shot is to show scale, taken next to my teenage son.

Anyway, it'll be listed tomorrow night after I package it up and get a shipping price idea from the post office on international and domestic.  I know for sure this will have to ship at the higher international rate because the box will be too big for the cheaper option. 

Wednesday, April 25, 2012

News on the Miniature Alice in Wonderland Rabbit Hole project

This has well-working lights that plug directly into an outlet (and for anyone international the plug can be changed out to your countries specifications.  The wiring is put on to this particular plug-in made for miniature lighting and the wires simply unscrew from this unit below):


Almost done:


The top part, which is all wild and natural, still needs Alice's kitty peaking down into the hole watching Alice falling down.  I'm starting her tonight.  The lower part which will be layers of the earth hasn't been done yet but shouldn't take more than a couple days.  The cat might take me up to three days depending on what's going on around here and my busy house :)  As you can see, Alice is done and mounted inside.  I had to make her dress, and let me go on record now saying I'm not natural when working with fabric!  I hand sewed that outfit and hated every single minute of it lol.  It's hard for me personally.  I managed it without many regrets in the end though.  She looks like she should.  I took a Heidi Ott doll in a child size for this size of project and simply rehaired her, made her clothes, and repainted her eyes which were small and indistinct compared to Alice's eyes in the movie.  So she had to be repainted with big blue eyes.  The dolls eyes were small and brown and there wasn't much detail so they had to go.  Now she looks much better.  The next time I blog this it'll be all done, yay!

On another note, a client of mine sent me darling pictures of her precious little dog Romeo with a miniature she bought from my Etsy shop.  I just have to show you all these, he's so cute!  And him and the miniature house are quite close in size, hehe:

  Isn't he the sweetest little thing?  Apparently Romeo likes the House of Bleeding Hearts :)   Thanks for sending me these pics!  Hugs everyone, have a lovely day and keep collecting! 

Tuesday, April 17, 2012

Dollhouse Miniature Harry Potter Dumbledore Memory Vial Cabinet completed and listed for sale

All done, my last part came in today :)  Here's the backside photos of it all done now:


Yay for crooked pictures!  My skills at photography rock :)  This is MUCH better in person, as always.

Available here for sale:


Thanks for the comments everyone!  Keep 'em coming :)  I wish I could do the same for you but I am really really busy and I just can't often find time to do much of anything.  Large house, large yard with many flower beds I tend, kids, husband, cooking and cleaning.  Whew!  I get exhausted just thinking about it all!  And yes I even do the grass mowing.  And we have a large amount of ground to cover here, almost a city block of mowing :o  Some of it has to be done on a tractor :(  You should see me when I get off that thing!  I look like a dirt monster!  And for the shower I sprint afterward :)

Monday, April 16, 2012

A very special miniature Harry Potter Memory Cabinet, nearly complete

I'm lacking one single piece that's on it's way to me in the mail right now, otherwise this would be done and listed.  I'm not sure if some of you remember that my MIL Sherry has said she wanted to create the memory bottle cabinet in Dumbledore's Study next to the Pensieve?  Together she and I plotted a way to make it successfully.  It's no small feat, the cabinet was highly elaborate.  Sherry bought some parts for it, but she's been having some health trouble and doesn't have a lot of energy right now.  So she brought the parts to me and allowed me to try making it instead.  I picked up the rest of what was needed and gave it a go.  And by some funky twist of fate, I was short one piece off the back top trim.  Grrrr.  Anyways, it's on it's way to me and hopefully will be here soon.

Let me first show you a video of a shot of the cabinet in the movie, and of course mine isn't quite that high because of miniature room space limitations.  I had to keep mine a little shorter on top.  But the design is very similar.  I did my best on a truly hard thing to recreate.  The whole thing is custom built.  And honestly it wasn't cheap to build at all!  I have over $110 in materials here in front of me, including custom miniature glass bottles from the Ukraine that were quite expensive.

Before you watch this you might want to go over on the right side of my blog and shut off the music player.
http://www.youtube.com/watch?v=6GPS8Xe8wIU&feature=player_embedded

So without further ado I'll post what pictures I have.  This cabinet is the same all the way around so you could literally pick your favorite view of it.


Of course I'll shoot better pictures when I get the last piece on. 

Thank you all for your wonderful comments all of the time!  I really love hearing from you :)

On a side note, I have to share a rather unusual recipe with you, hehe.  Here in Illinois each late spring brings the great morel mushroom hunt.  What exactly does a morel mushroom look like?  This is it:

Now you may ask why anyone would want to go looking for these things?  Because they can be cleaned, breaded and fried and the flavor is something to look forward to the entire year.  Masses of people go trekking through the woods scanning the ground in an effort to find these rare mushrooms which are once a year oddities.  It's not as easy as it sounds!  They blend into the forest floor which is covered in leaves, etc.  It can take hours to find enough to cook a batch.  Are they worth it?  Yep.  But what are they not worth to me and my husband?  The massive poison ivy rash that breaks out all over both of us when we venture into the forest.  And the hunters of these mushrooms fetch upwards of $20 a pound or more for these little things!  And yes, they do get that much for them.  Like I said, they're worth it.  Luckily my husband came home with a recipe from a friend for "fake" fried mushrooms.  So we tried it out.  We started with these
which are portobello mushroom caps from the grocery store.
We chopped them up finely like so:

and to them we added a can of cream of mushroom soup, finely crushed saltine crackers, an egg to form a rather sticky and lumpy paste that is best dished into your breading bowl with a spoon (not your hand).  You must add enough crackers to make it so that the mixture holds together to form into mushroom shapes without breaking apart.  Or you can make patties out of it.  After you drop a lump into the breading bowl, scoop up a bit of breading and pour over the top of the mushroom mixture before you touch it or you'll be a sticky mess.
Here's our bowl of ingredients before mixing:

I took another dish and put more crushed cracker crumbs and some flour, and then I formed mushroom shapes and dipped my little mushroom patties into the flour/cracker mixture.  On the stove I heated a stick of real butter in a frying pan.  In went the little mushrooms and away they fried :)  I had to make enough for an army because half my family showed up to try them out.  Three packages of large mushroom caps, one large can of cream of mushroom soup, several small packs of crackers and an egg went into mine and made a whole lot of mushrooms.  There wasn't a single one left in the end so I guess they were a hit.  And yes they were a very convincing copy of an actual fried morel mushroom :)  These look awful but they're actually very good:


Tuesday, April 10, 2012

Updated Pictures-Dollhouse Miniature Snow White Theme Tree

All I have left to do to the rabbit hole project inside is cloth and hair Alice.  I was working on that and got fed up so I took a little break to make this theme tree :)  Snow White is everywhere right now due to the movies Mirror Mirror and Snow White and the Huntsman.  So it put me in the mood to make a theme tree.  My pictures are horrid because the sun was directly overhead when I shot them so I'll have to come back in tomorrow with new pictures.  So please note that this is better in person!


Available here:

I also reshot some pictures of a necklace I made since the pictures were so distant and far away that it wasn't selling.  Every other piece I've made has sold previously, this is the last one left. 


Available here: