Showing posts with label gnome house. Show all posts

Monday, May 7, 2012

Another 19th Day Miniatures fairy house project under way

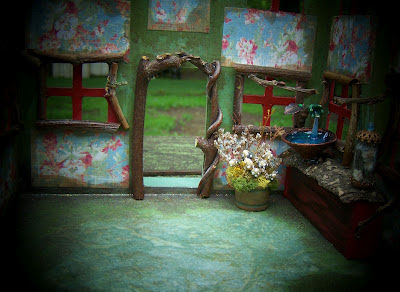
I've started another fairy house, my last one of the year as far as I know.  I'm eager to get back on some witchy minis, the steampunk/mad scientist lab house that's my fall spooky project, as well as a project that I've been thinking of doing for quite some time.  I've penciled in one last Alice in Wonderland project, but not just any project.  I've wanted to do the tea party scene for quite awhile, and I'm doing it some time this year.  And when I do it, it'll be done to the very best of my ability because there's something about it that I've always loved.  It's so preposterous and funny I guess.  Absurd, and it just tickles my funny bone :)  I've always known I would do it at some point.  But I have a few projects ahead of it to do so stay tuned.  Matter of fact I think at some point I might do two different versions of it, the standard one, and one that's very "malice in wonderland"....completely goth and disturbing!  How would that be for a Halloween decoration, a spooky Alice decoration?  Sounds fun to me!  Anywho, I'll shush up and just post some pictures of my basic start on this fairy house.  So much to do yet, lots of mossing inside the house before I can glue furniture in place.  I also need to finish trimming out windows and areas with twigs.  And I have a couple of lovely fairish things that go on the walls as well so it's not how it will look in the end inside there.  Here's some pictures of what I've been making:
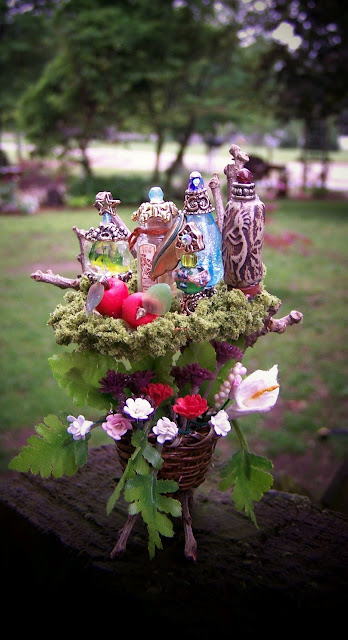
This is a twig stand I made with a mossy shelf on top and a basket of floral things underneath.  On the shelf are little fairy potion bottles and a couple of red apples.  I couldn't get a decent shot of this, it's quite pretty in person-more so that you can tell by this.  This will go in the back corner of the cottage.  I think I might make it so the top can be removed from the house so that things could be added or so that you can get a bird's eye view of all the things inside the house.  The top is removable right now, I usually glue them down but this one I might not. 

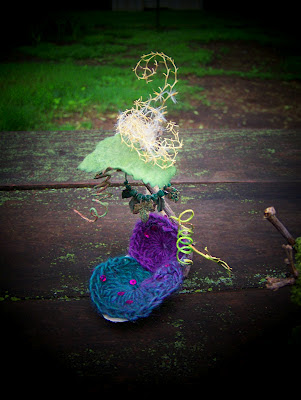
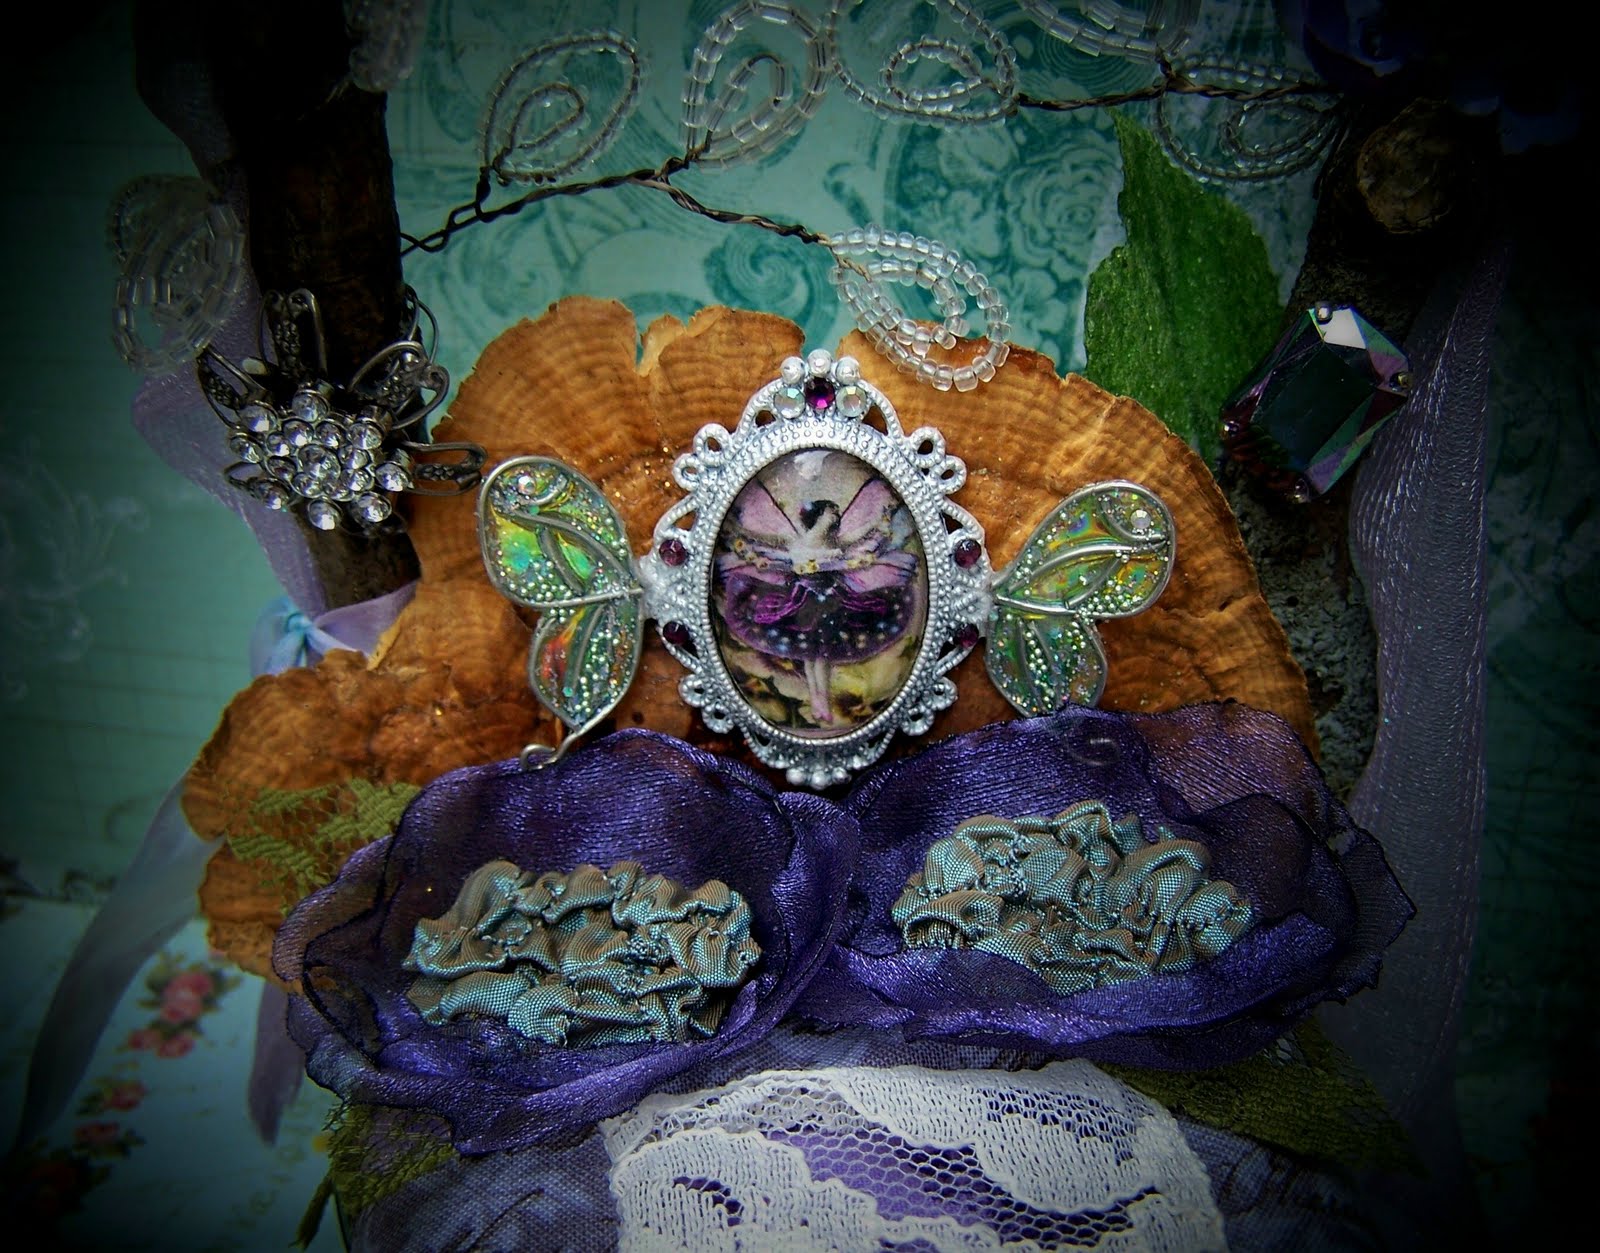
This will be the little fairy bed, made on a half shell with a leaf canopy and hand-crocheted bedding.  This picture is horrible, I might have to retake these later.  It's rainy and dark here right now, and it's affecting my photos badly.
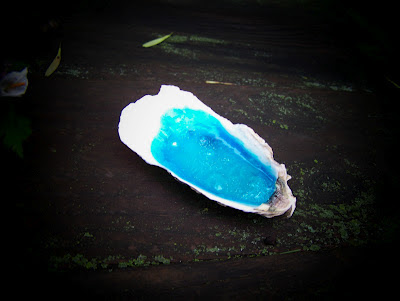
One of those little fairy tubs I make with the shimmering blue water.  This and some bath things will be mounted up high in the room against a wall because after all, fairies can fly!
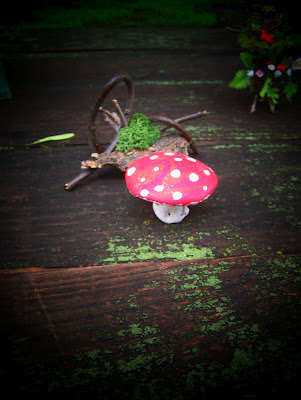
A twig bench and a mushroom table will round out the kitchen setting nicely :)  Again, BAD pictures :(  I am so sick of this weather here! Grrrrrrrr!

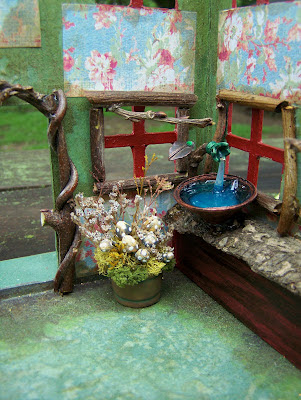
Again, difficult to see here but that would be a sink basin on the tree bark counter top with a water pump with water running into the basin.  On the floor sits a bucket of brown mushrooms and vegetation growing.  The inside of the house I wanted to look mossy, damp, and aged like it had sat on the forest floor in some hidden place for a very long time.  Still so much to do to it though before I glue down furniture. 
Still lots of twigging and mossing to do in there.  I might make rustic little curtain panels, don't know yet.
Stay tuned for updates :)  Thanks for stopping in everyone and have a wonderful day!


Monday, November 7, 2011

Updated with clearer pictures-A Christmas Home for Gnomes, all done :)

I finally got my little gnome cottage finished-wow, I had no idea sculpting a 3 inch tall gnome would be such a challenge!  I changed my mind about his look.  The Christmas gingerbread-style of the house I knew would cause a pot-bellied little white headed guy to look too much like Santa Claus and it would confuse people as to why he was dressed this way and in front of such a cottage as this rustic little thing :)  He would be viewed as some sort of weird Santa.  So instead I opted for a younger man with brown hair and beard who wouldn't be confused with a sleigh-driving cookie addict with a bag of presents :)  Oh man now I'll get coal in my stocking for saying that!  Hehe.  Ayways, I made him and dressed him for the holidays and his hair is tibetan lambs wool.

I covered the house and everything with a thick crust of faux snow, made from a little trick I learned recently.  It's very convincing snow and looks good in person.  I made a little pie for the window sill, dressed the pet goose in a charming little capelet and gnomie hat, added on a pine tree to the side of the house and decorated it to match the style of the cottage, etc.  I don't have a picture of it plugged in and lit up but it's very charming with the light coming through the stained glass-style windows.  I can't take a decent photo inside and can't plug it in outside.  But I can tell you it looks very cute while the lights are on.

This is an upcycled, one of a kind cottage that will never be made again.
My pictures are not that great, as usual.  It's so much nicer in person.


I should have smoothed down his wild hair before taking these pictures :)  Oh well, you know :)
           

Thursday, November 3, 2011

What am I up to now? No one Gnomes :)

I'm all about reusing and recycling and making old into new.  I like the challenge of looking at something junky with a good basic shape that could be improved upon and trying to see it in a new way.  I would much rather fix something up than let it go into a landfill.  For instance, once in awhile I check out what's in my local thrift stores for materials to work with.  Ugh, I can't even begin to tell you the awful stuff in there sometimes.  But in the midst of the tragic mess of rubbish every once in awhile I see something others pass over because of the sad shape it's in.  I can tell I can redo it and make it wonderful again :)  (If it ever was wonderful :)  Take this little wooden house for example:
This was promising, although formerly covered in dried flowers in various states of decay and ruin and other crap around it that was pretty bad.  Not to mention that the light inside it had a french plug in on it, and thus was unusable here in the states.  What the???  How did it get here to the US and why with a plug that wouldn't plug in here?  No matter, my Hubby is quite handy and got me a new lighting unit that fit inside perfectly and lights the windows up like a proper nightlight should.  And I yanked off everything nasty or just plain cut it off with my exacto knife.  I have plans for this little home, it'll soon have new tenants :)  Who will be moving in?


Gnomes :)

My plan is to have a winter time Christmasy gingerbread style house with a little bit of a rustic vibe to it.  I have a very basic start on it and  it'll be far more elaborate in the end.  And there will be a gnome outside, which I'll have to make.  I'll post more pictures as I get further along but this is all I have so far:

I have a ton of work to do to this so stay tuned :)  Should be a cutie when I'm done but I have a long way to go!
   

Friday, July 15, 2011

Updates on the Titania and Oberon Miniature Bed

A little farther along :)

I think my quilt turned out nice.  It took a little while hand-stitching it but nothing else would have looked as good.

I went with a less specific photogragh for the frame because it would fit more fairy themes than just A Midsummer Night's Dream.  And the picture was gorgeous and matched my colors :)  And I really like the flower pillows I made with their scrunchy center pillow part, they're cute in person!

I'll post updates tomorrow if I can get to it, I've got even more done to this than these pictures show but I didn't have time to retake them.


Sunday, June 26, 2011

Fairy Cottage Finished, boy was that a lot of work!

I just finished up my Spongebob Squarepants pineapple house transformation, hehe and I think it worked out well :)  It's pretty cute now but to hear my daughter tell it-it's ruined!  Haha she's not happy it's no longer the home of one of her favorite cartoon characters :)  She keeps saying every time that she looks at it "I can't believe you did that to Spongebob's house!"  Now remember I started with this:
This was the exact piece I was working with.  I knocked off the top greenery and the vent pipe.  Then I splotch painted the whole thing in brown, green, and lighter brown and added the start of my natural materials like so:

And then last night I went crazy trying to finish it up so I could move on to my Harry Potter minis.  I rolled out a clay base and used an upside down bowl to cut a perfect round circle in the clay.  I took my tea light and pressed it into the spot I wanted my light to come up through and then used my blade to cut out the spot for the tea light.  Then I added a molded clay leaf edge with a clay mold I have and baked the whole thing very well for strength.  This I painted green and then pushed my tea light up through it .  Battery powered tea lights look like this:


The reason for putting it up through the clay is so the battery can be changed from the bottom of the completed piece.  Actually the whole tea light unit can be changed out if it should happen to burn out by accessing it through the bottom of the base.  Quite a good idea I think.  As you can see the tea lights aren't expensive to buy at a local hobby or craft store.  Replacement batteries can be purchased at Walmart or any other store like that.  Here's what I did to it last night:

I added a red door I made out of some scrap wood I had laying around, added festooned curtains in a tiny floral print to the windows, and decorated it as much as possible without overdoing it.  I even added a little window box with flowers growing in it out of an acorn top half that I cut in half.  Hard to tell but you can see the little red flowers on the side of the house and they are in that acorn top window box.  I hand-built the mossy twig bench as well made from a piece of bark from a very ancient maple tree in my yard that has survived for a vast amount of years and is completely hollow from the base all the way up to the tallest branches and still manages to have a full set of leaves.  Amazing! It currently houses a wood duck family in it's hollowed out core :) When I was a little girl I used to pull myself up to look into the side hole of the tree and imagine what sort of imagined creatures lived far down in that dark hole. I felt it must be magic to be all hollow and dead-looking inside and yet still be alive with leaves. I guess not much has changed, I still think it's magic :) When bark falls off it from time to time I always pick it up to use in crafts because it's so mossy and beautiful!  Here it is:


And here's more pictures of my project:
last night's dark picture in the photocube

Now you know why I have to go outside to take pictures!  Here's my outside shots:


When it's dark in the room and you turn on the tea light the light flickers as if there's a fire place inside the house that's burning!  It's so cute when the lights are on :)  Ok then, there's all I have for now!  This is currently for sale now in my etsy shop.  I put it on late last night and it already has hearts :)  That makes me feel good :)

Thanks to all of you who leave comments and I wish I could return the favor but my comments section is now working for some reason.  I'm not quite sure why other people can leave comments while others can't right now!  So frustrating!  As soon as that feature is fixed I will visit your blogs and leave comments in return.  For now all I can say is thank you for your support and kind words!  Please visit my partner in mini making's blog here at this address to see what she's cooking up that will soon be in the store:

http://19thdayminiaturessherrys.blogspot.com/

Thank you!  Big hugs from 19th Day Minis :)