Well hello all, I haven't blogged for awhile and thought I'd check in with my online buddies and let you all know what's going on :) 19th Day Minis Co-Creator Sherry is here at my house, clear from Arizona. She is my Mom in law :) Anyways, there hasn't been a lot of time for mini making. But we have done a little. Like a little work on Sherry's haunted roombox. It's far from finished, all the fine details are not in there and the ghost doll is not dressed yet. Matter of fact we need three to four more dolls for the dining scene. The premise of the scene is that there is a ghostly feast going on, none of the people know they have passed on. They are going through the motions of life without the slightest hint that they are no longer among the living. I wanted all the pieces to be quite elegant and stately in design and we have a long way to go. But at least it's started. We're waiting on many more of the room pieces to come in the mail, but this is what we have so far. Pardon the naked little lady seated at the table. She will have some clothing before it's all over in the form of a lovely lace dress all in white. And we have a pretty real crystal chandelier ordered and on the way. So much more coming that will be pretty elegant. The pictures are bad due to nighttime photo taking but you'll get an idea of what's going on:


We have a lighting fireplace log set on the way to go in the fireplace. The fireplace will have lit logs in it. The fireplace, artwork, and corner pillar stand are from a wonderful artist on ebay by the name of Jim Coates. Search him and you'll find his lovely miniatures.
The white corner pillar stand will have a tall rose arrangement on it made by Sherry.
The artwork above the buffet will have lighted wall scones on either side. More will be added to the top of the buffet, it will be decorated before it's all over.
An assortment of fancy little foods sits out of place on the table right now. Of course there will be more things like napkins and plates, etc. Nothing is in place, just sat out for this photo. Like I said, waiting on so many more parts to come in. But we won't be finishing this up until Sherry's next visit in September. So here it sits until then. I won't be able to show you the scene again until then. But this is a quickie peak at what we did manage to get done. Pretty good actually, considering it was just an empty box with no wallpaper or flooring or anything at all :)
Here are some of the laces we're using to make her dress:
The long pleated will be the skirt, obviously. We have to slip her in a form-fitting white sheath before we put the lace dress on her. The fancier lace roll has a part on it that would make a great bodice. We're planning on using that. She'll have long bell sleeves to cover the ball-joints in her arms. The skirt will cover the ones on her legs. I'll be ordering four more dolls before it's all over. There will be two couples and a man serving them standing at the head of the table where the couples are seated.
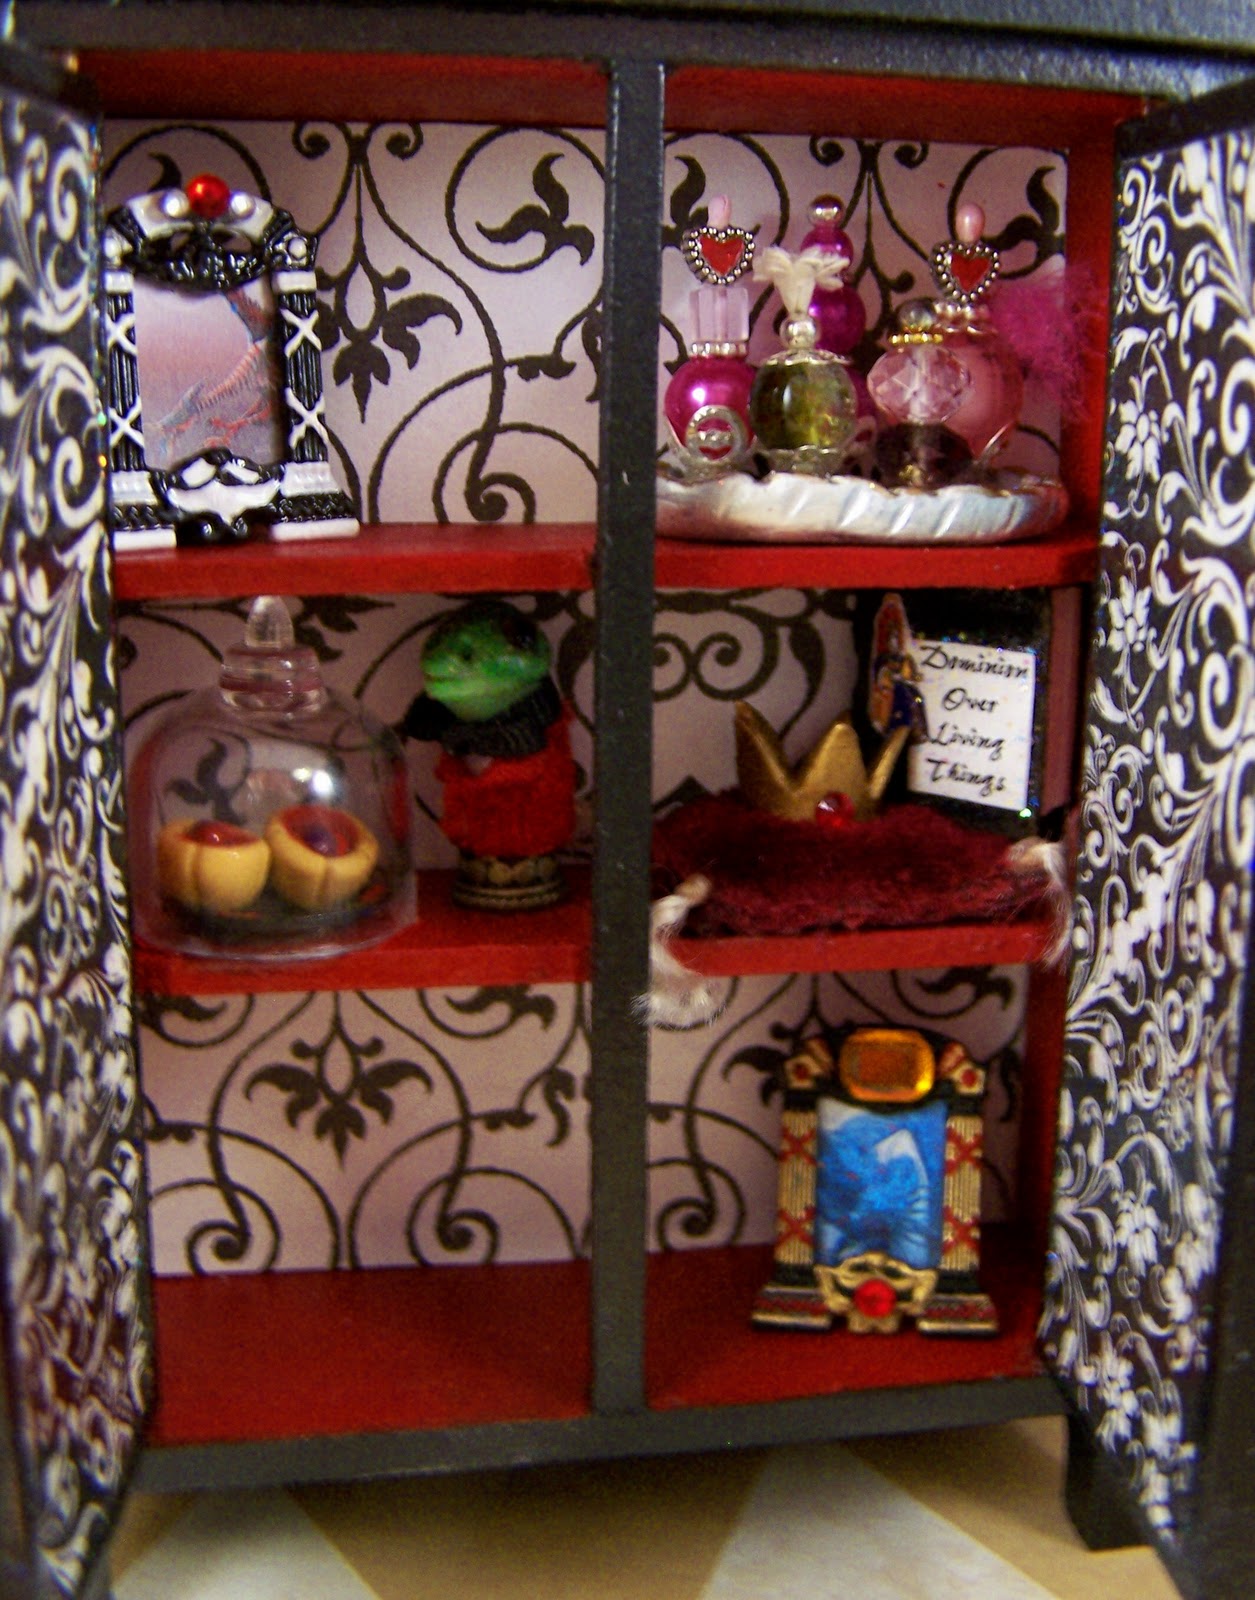
Now for my long neglected Red Queen cabinet. I have done a tad more to it, but I have so little time right now. I keep at it when I can though. Here's what I have done at this point. It will be much fuller when finished of course:
Of course, the pictures are terrible. Yikes, night time pictures :( There is a very pretty tray of perfume bottles in red queen style. Two very ornately painted picture frames which are dismally awful in the pictures. I can't even express how much better this looks in person. I'll have to take this outside and get better pictures in natural light. I have no idea why but the pictures are ten times better when I do that. Check back tomorrow for the better pictures that will be forthcoming by tomorrow night.

Pictured in the frames are the Red Queen's beloved Jubjub Bird and Jabber-baby-wocky :) These being the biggest reason she has her power in the first place, of course she'd treasure them. Thanks to my sick sense of humor, I thought it would be just like Iracebeth of Crims to have that thieving frog beheaded and then have the poor little guy stuffed, staring for posterity at the tarts he's not allowed to have, haha! So I sculpted his head and neck and dressed him in his smart red jacket and white shirt complete with black bow tie. He stares ever more at a glass dome covering the delicious squimberry tarts he coveted enough to steal from the Red Queen-which eventually cost him his head. The crown Iracebeth stole from her sister sits on a velvet pillow. Behind it sits Iracebeth's favorite study subject, Dominion Over Living Things. This is a leather bound copy of the book that I hand-crafted. It looks pretty good in person.

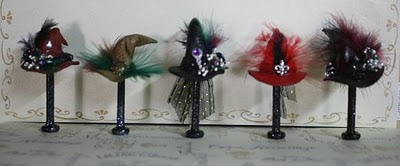
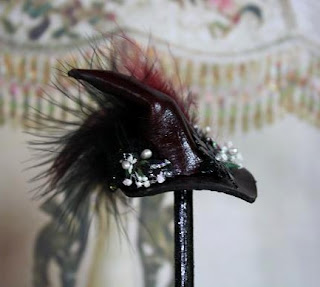
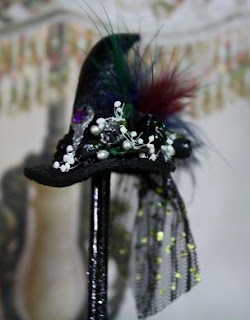
Here's the hat I was trying to copy (sort of) from the movie scene where the Hatter was trying different hats on the red queen. I did embellish it more than on the movie because I felt it was too plain for my cabinet. I wanted wow factor. The materials are black leather, black tulle, red feathers, a red velvet and sheer material ruffle around the brim, a red rose, etc.
So much more to do, but you all can see where I'm headed hopefully.

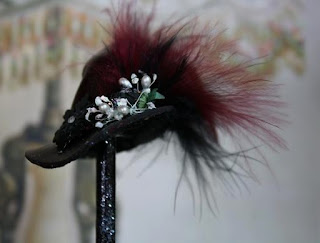
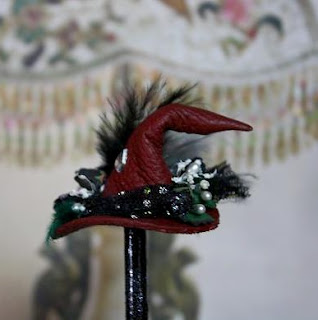
 And another:
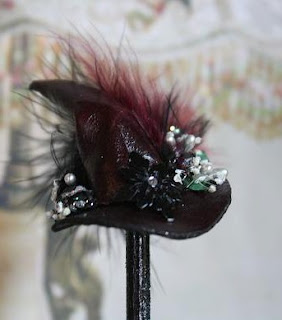
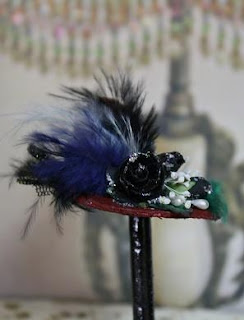
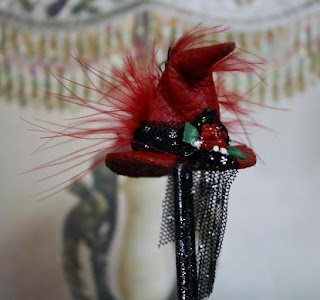
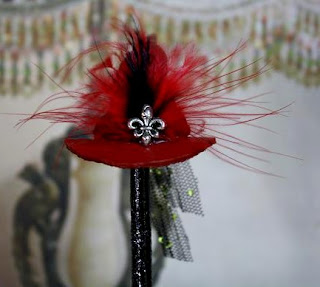
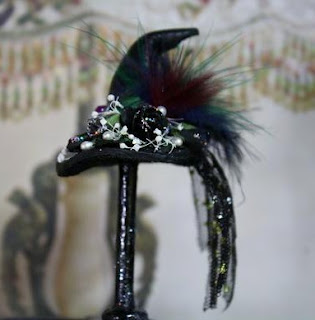
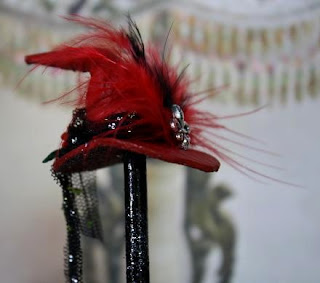 and another:
 Please contact Sherry via her blog: http://19thdayminiaturessherrys.blogspot.com/